
33% OFF Limited Time Offer
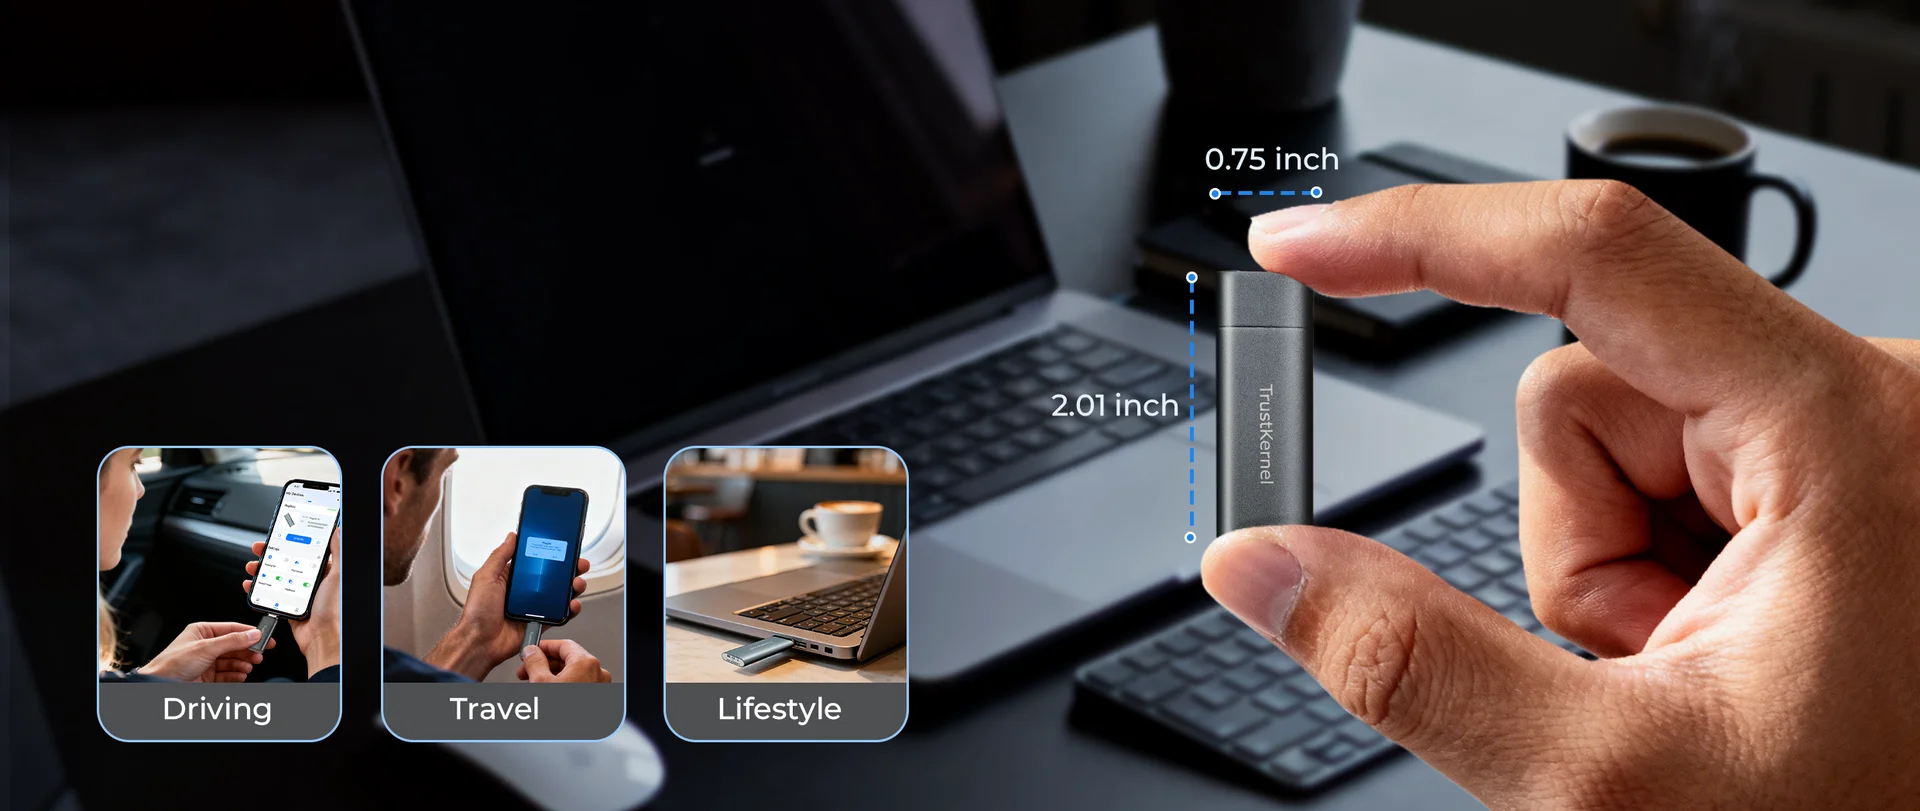
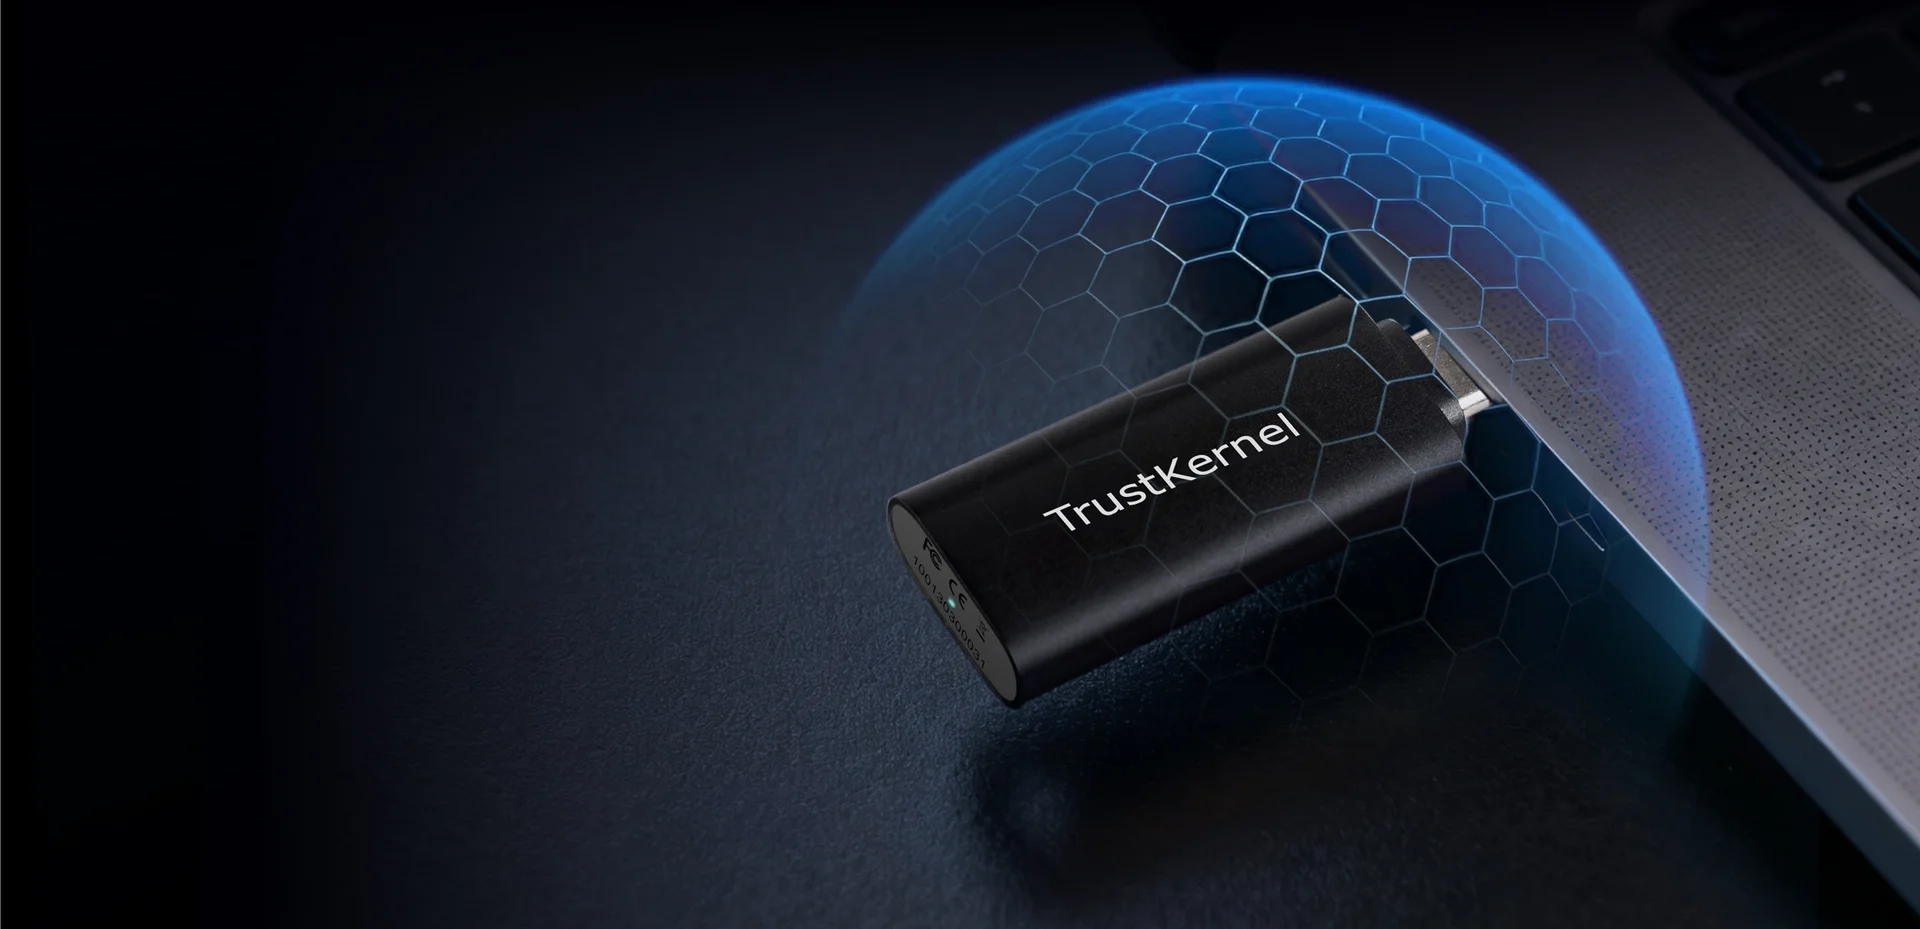
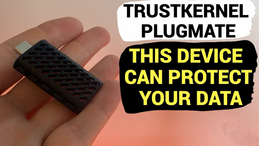
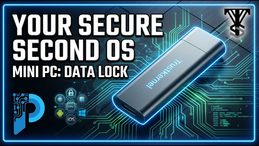
The Thumb-Sized Secure Computer in Your Pocket
USD $199$299


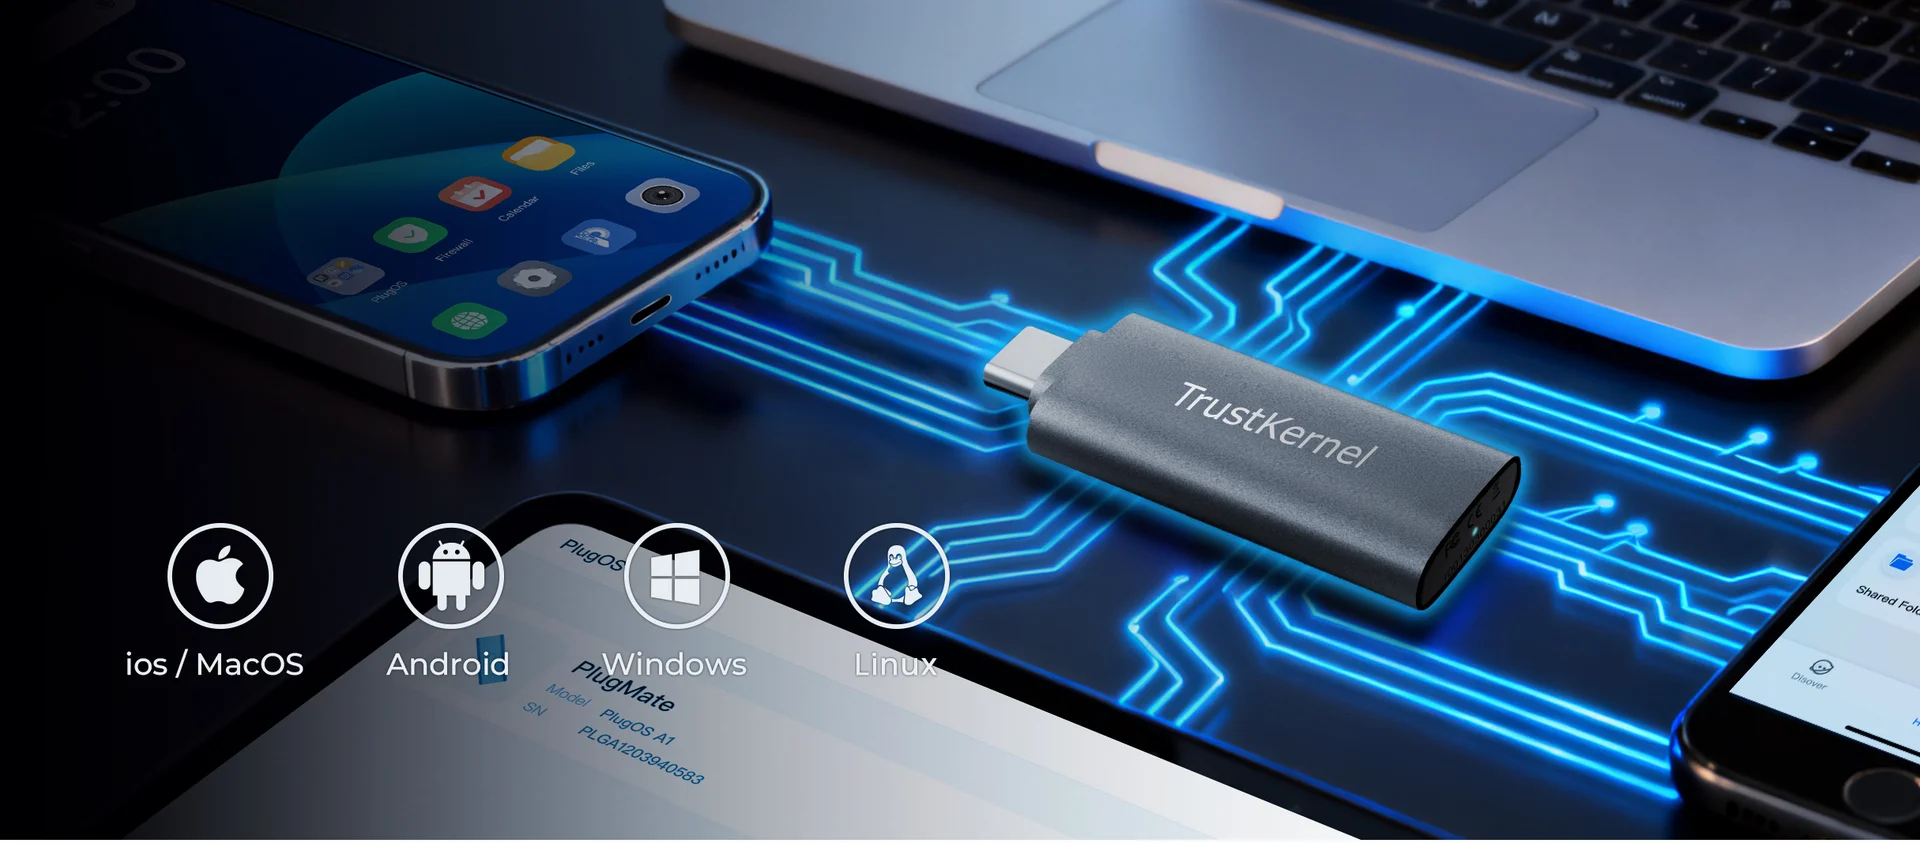
Designed
for security, privacy, high compatibility

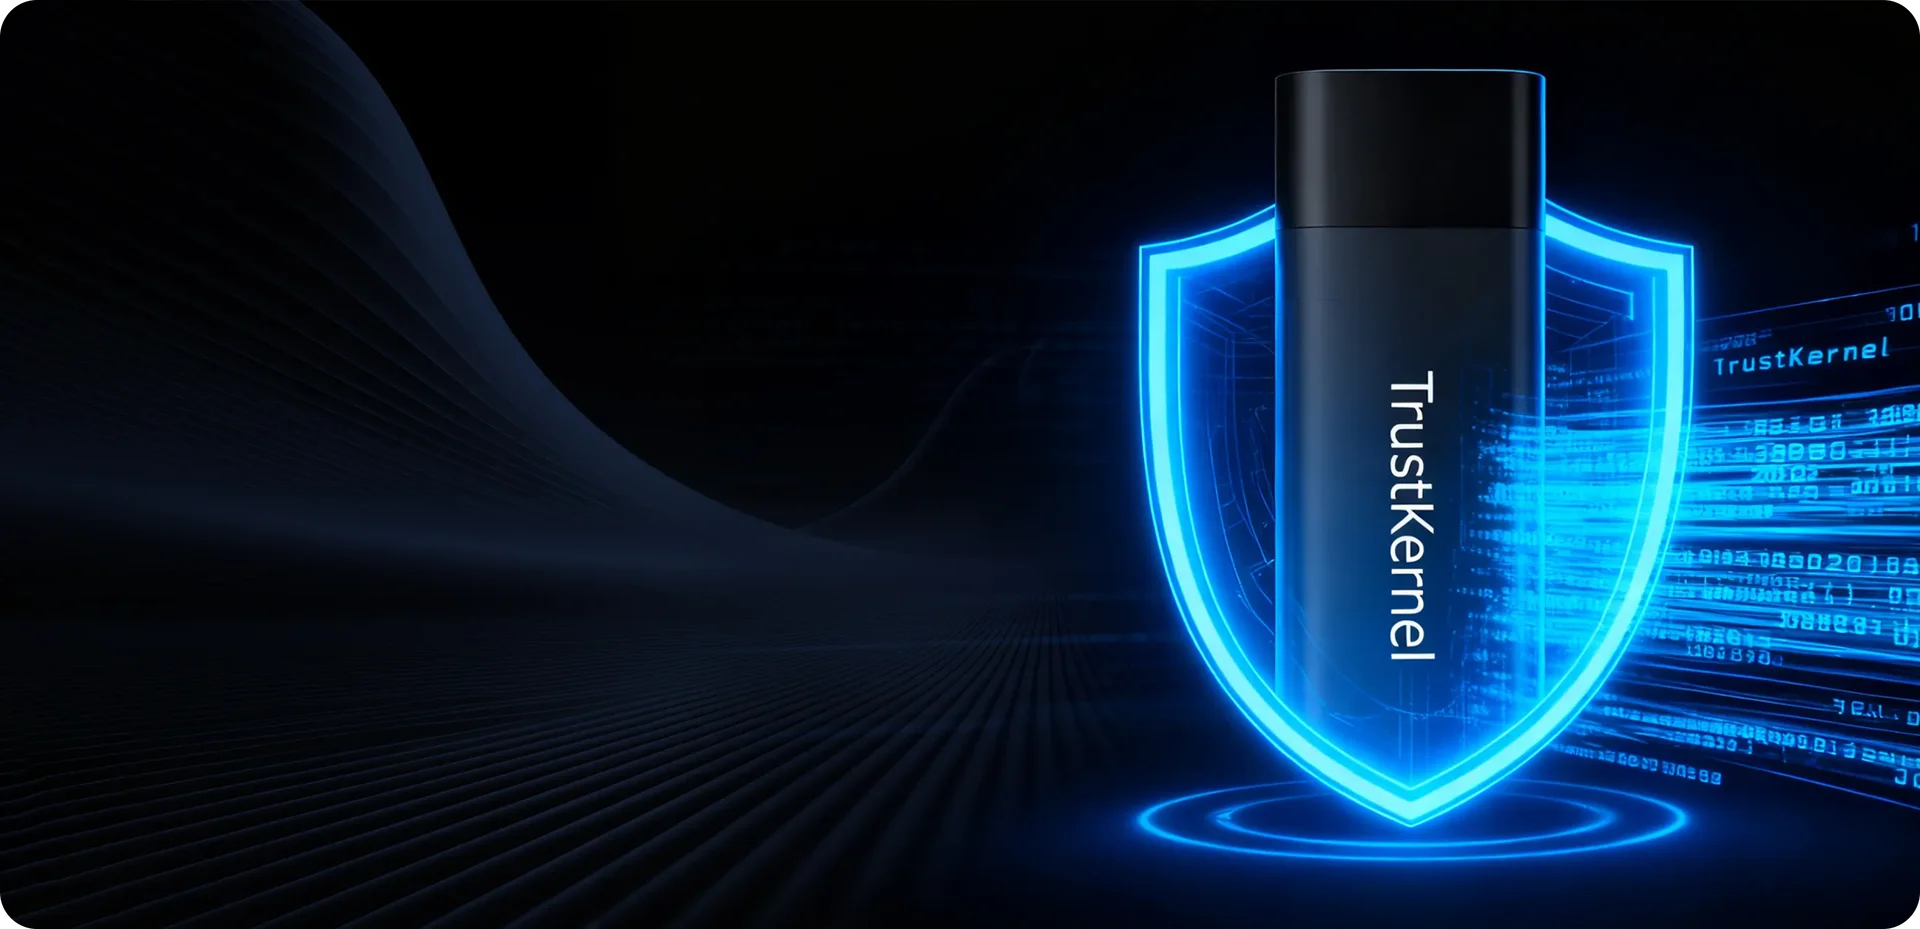

Built for Advanced Threats, Secure at Every Layer
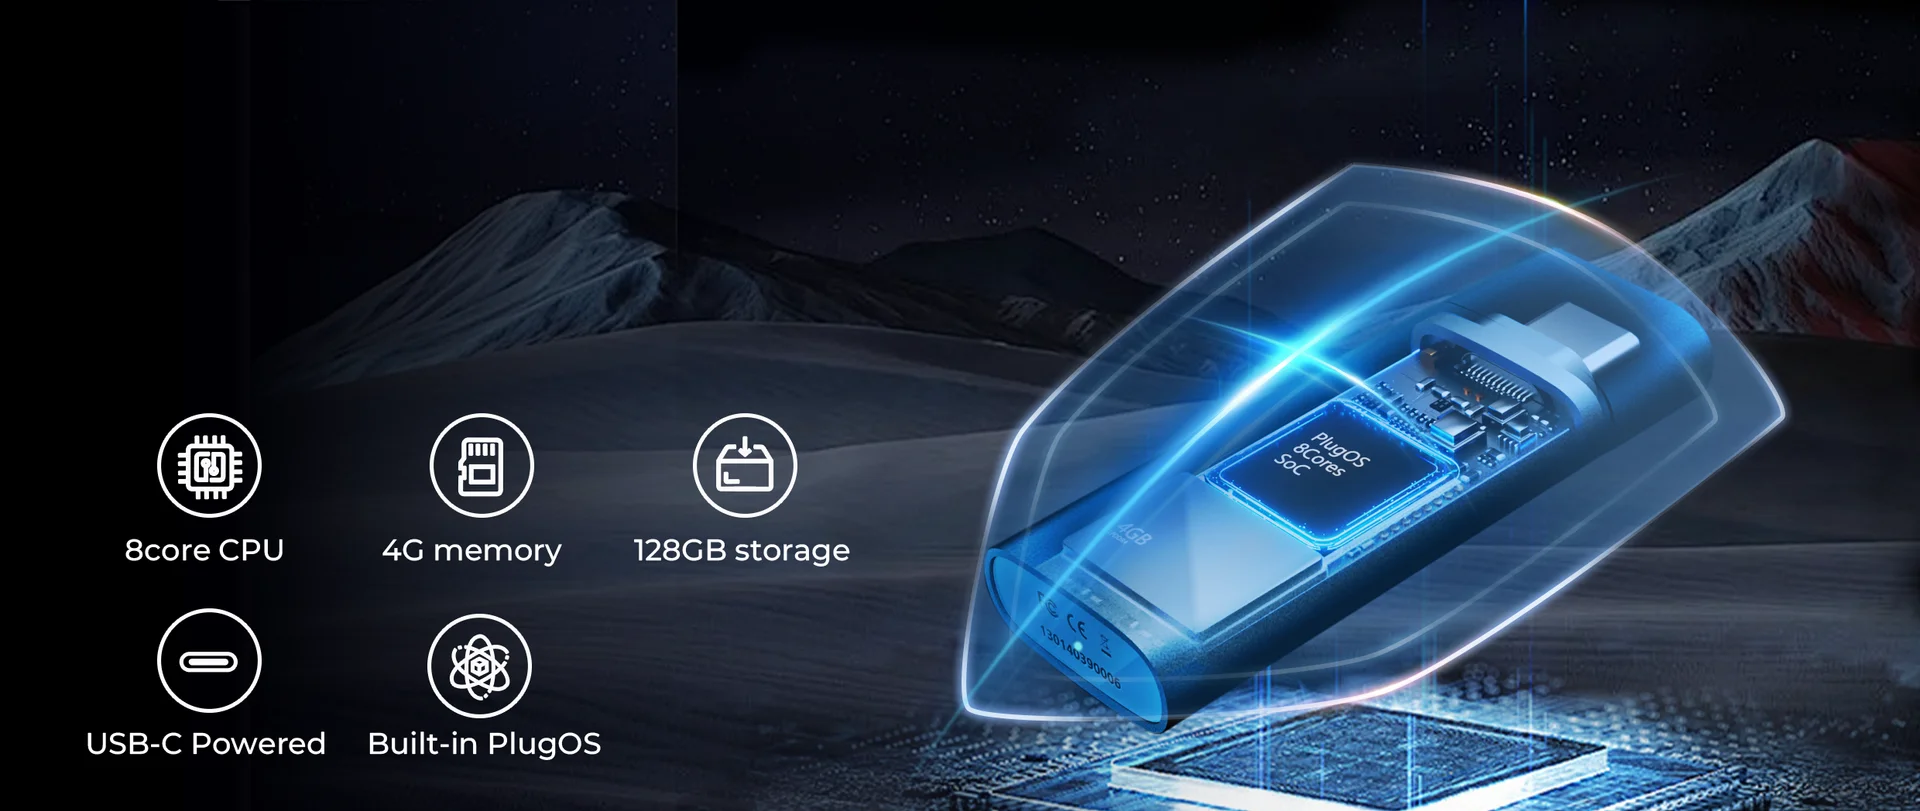
From hardware isolation to a dedicated secure OS, with full-disk encryption and optional duress self-protection, engineered to withstand advanced attack models.True Hardware Isolation
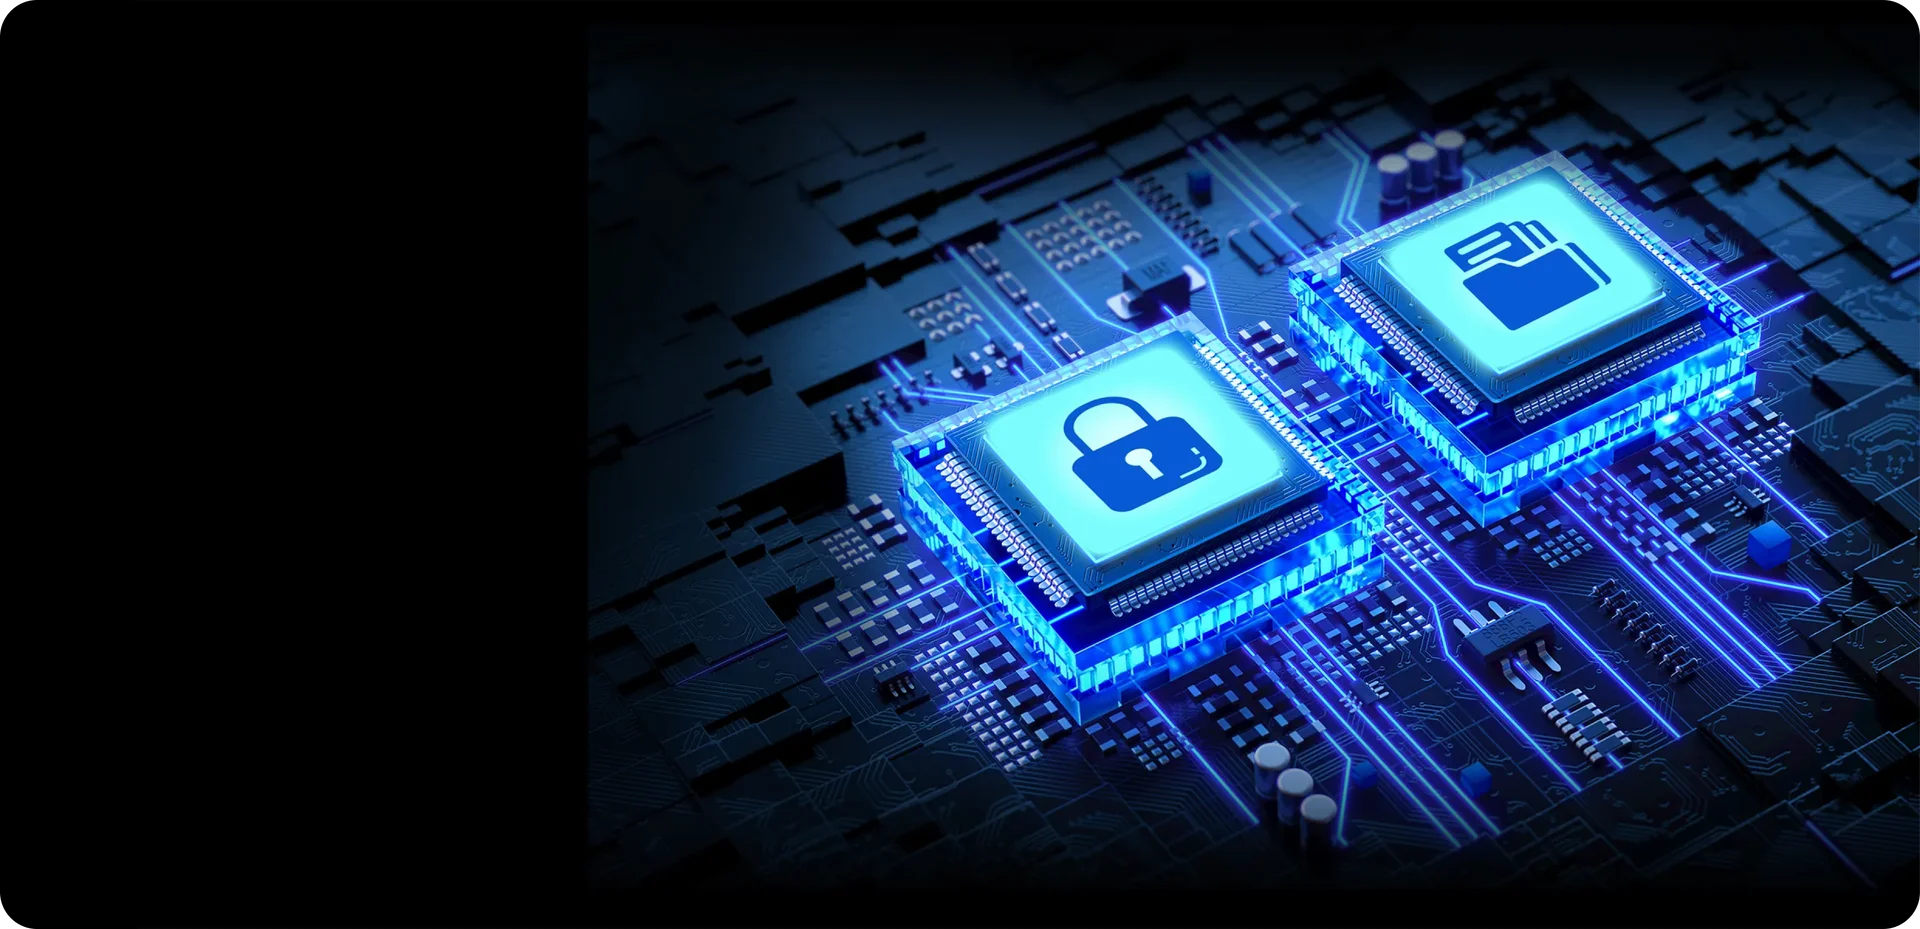
Data remains entirely within the PlugOS device. No cross-data access, no exposure.Lifetime Full-disk Encryption
Your data is always secure by hardware-encryption at rest.Mutual Pre-boot Authentication
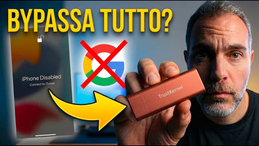
PlugOS launches only after both device and user are securely verified by secure chip, blocking any unauthorized access.Data self-destruct
Entering a duress PIN at the login screen triggers an instant, silent, and irreversible wipe.Encrypted backup
All backup data is secured with trusted End-to-End encryption, accessible only by you.True Hardware Isolation
Data remains entirely within the PlugOS device. No cross-data access, no exposure.Built for Advanced Threats, Secure at Every Layer
From hardware isolation to a dedicated secure OS, with full-disk encryption and optional duress self-protection, engineered to withstand advanced attack models.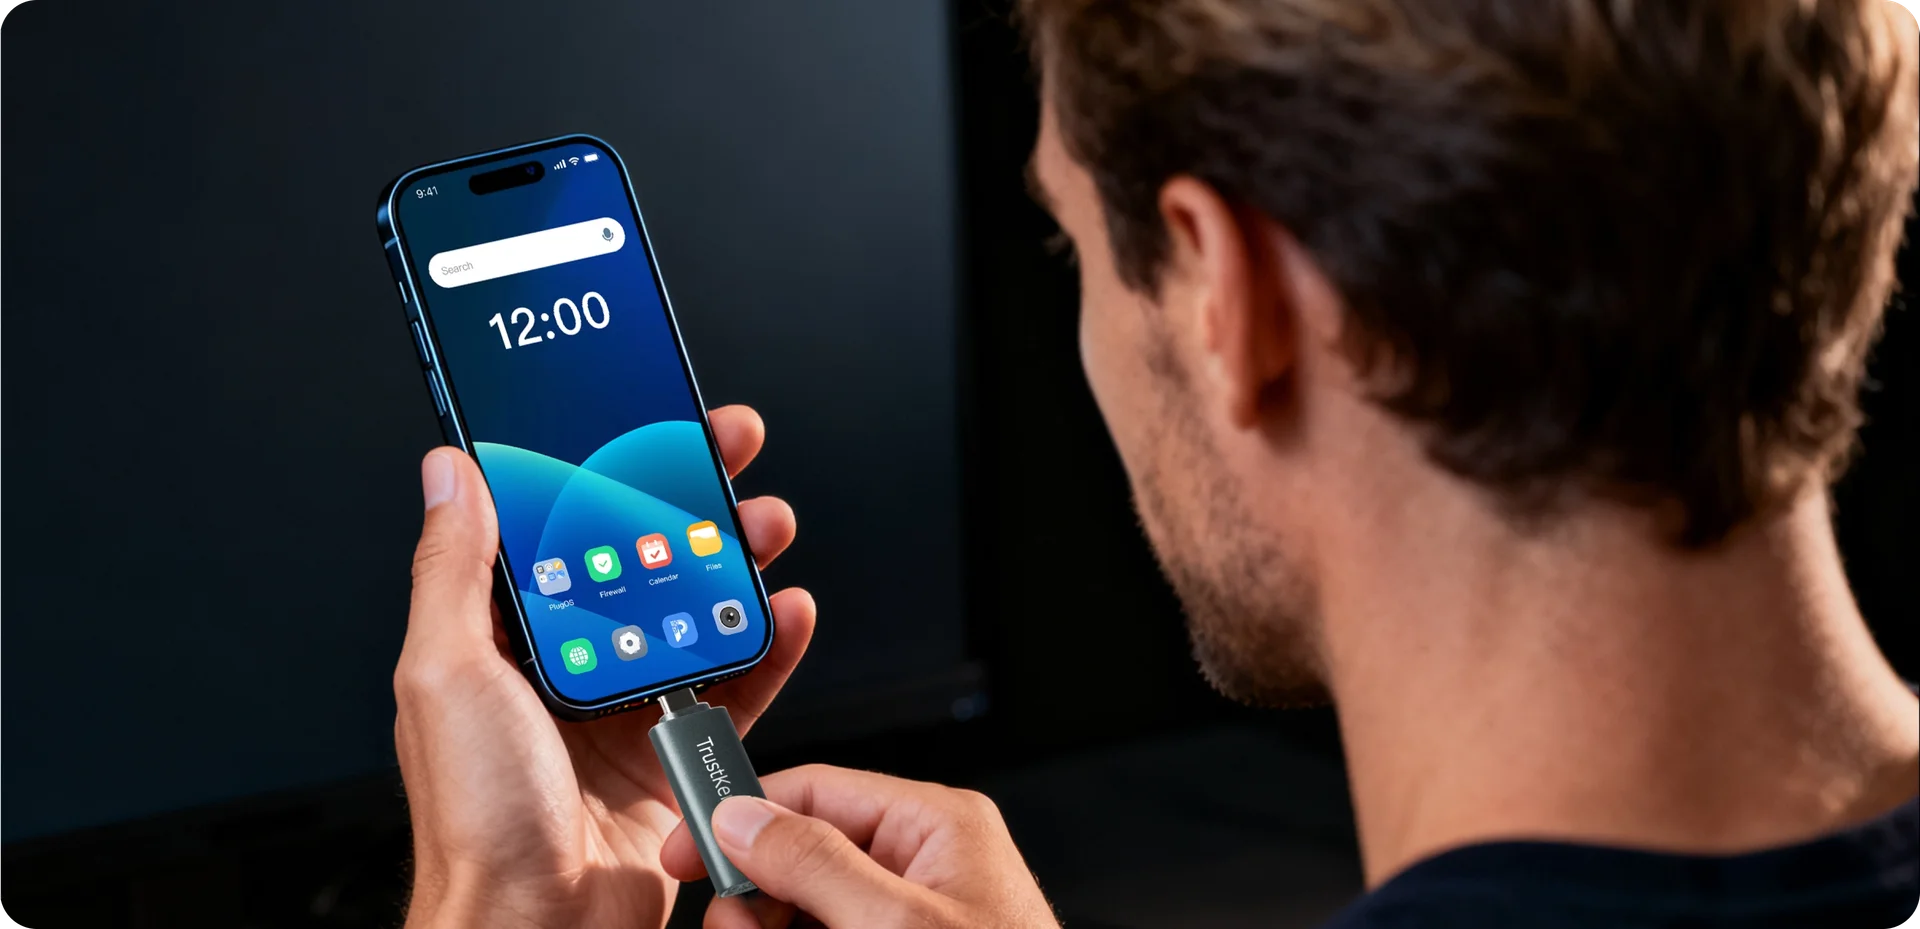
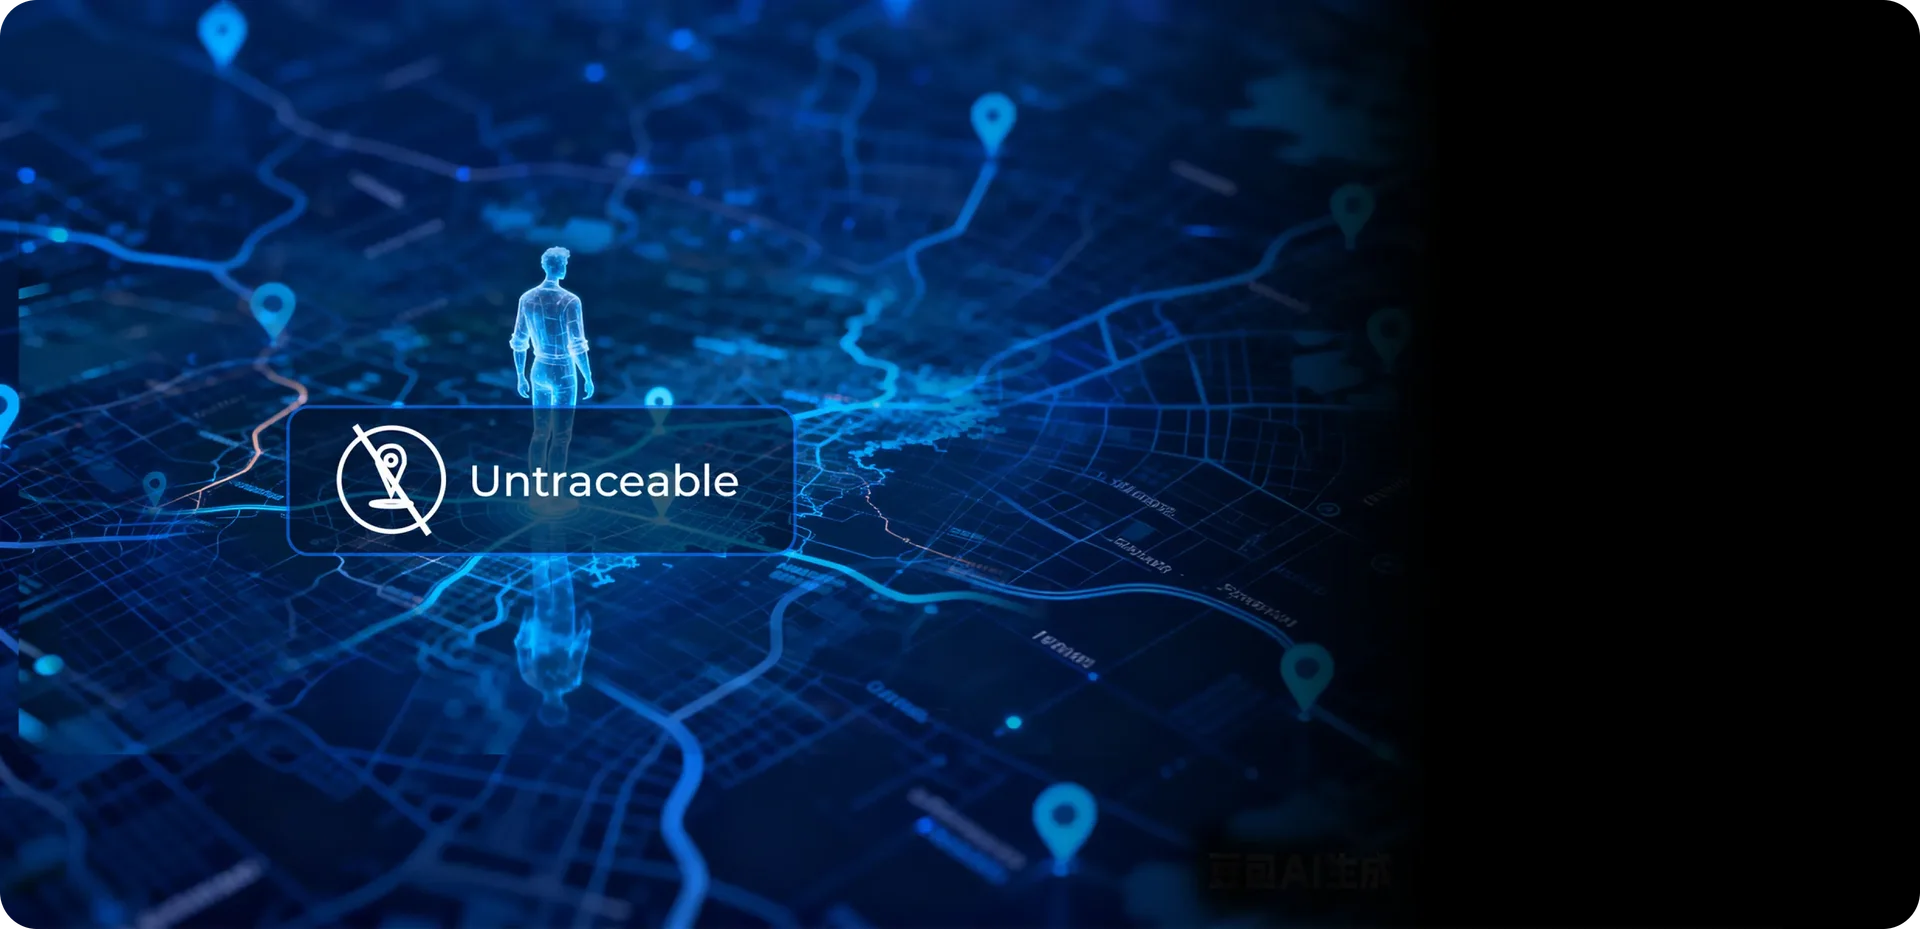

True Privacy, Your Data Belongs Only to You
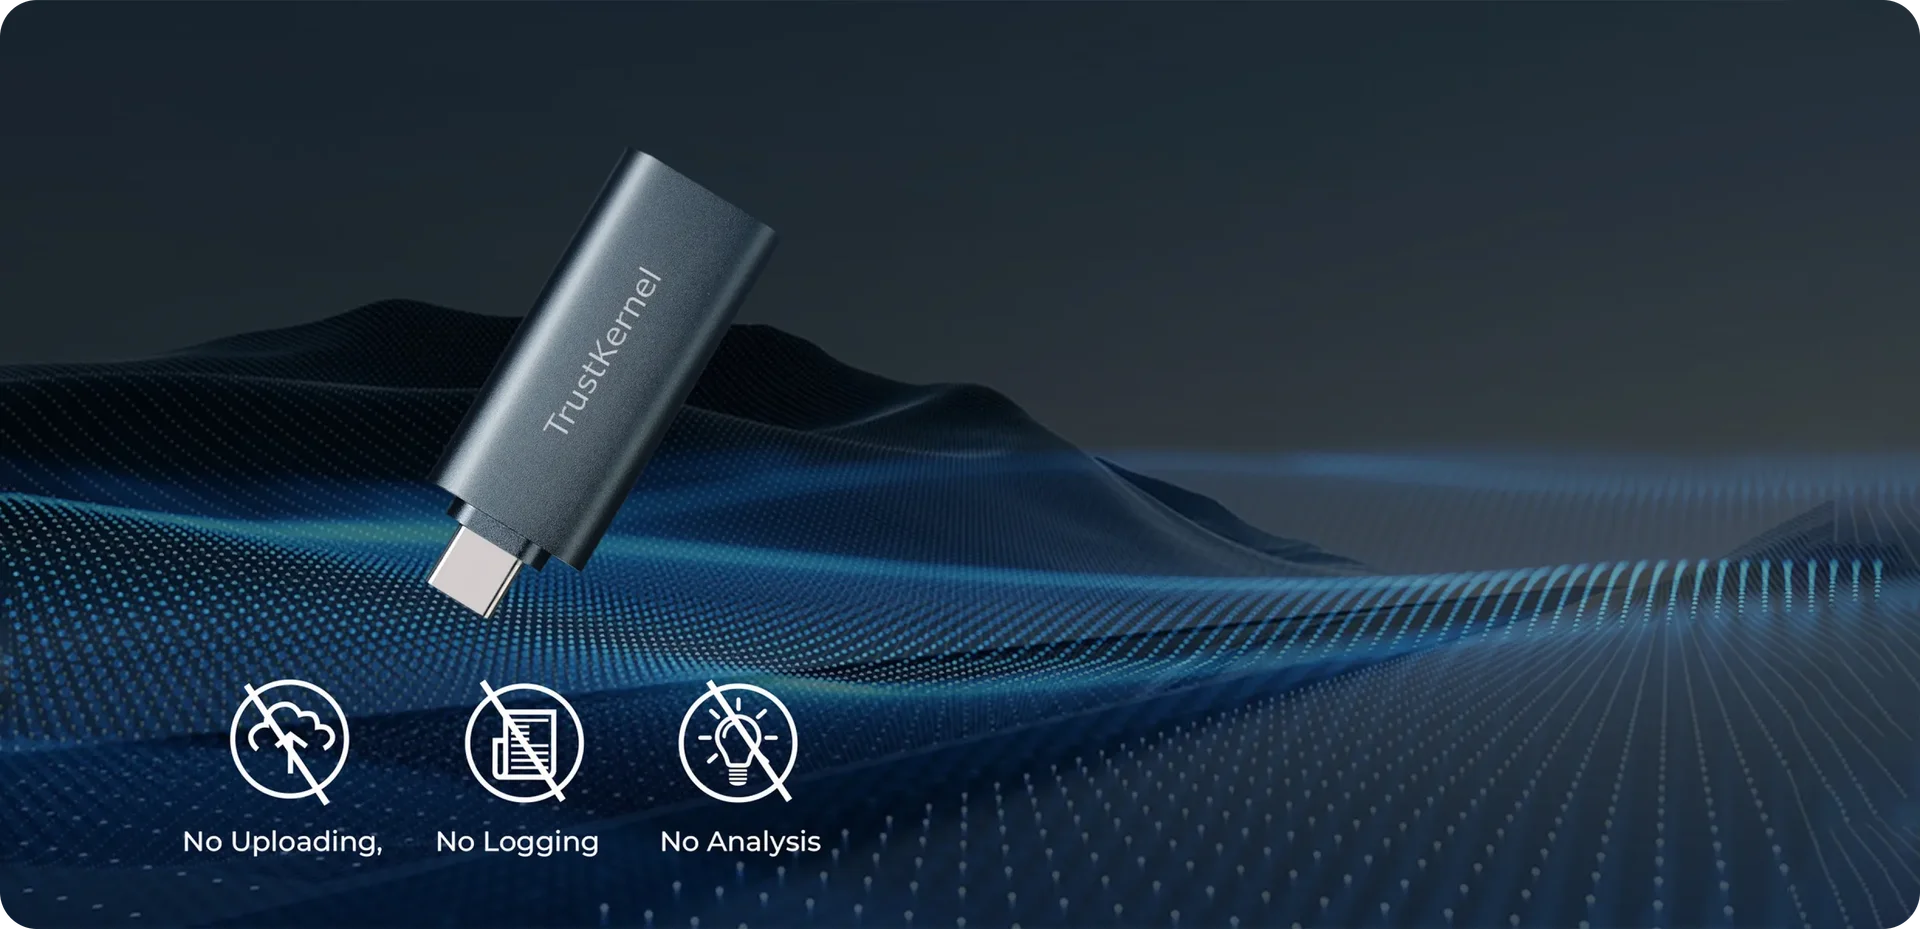
No collection, no upload, no exposure. Device fingerprinting is masked and network fully under your control.Pure System
A clean OS built for privacy. No ads, no profiling, no telemetry.Privacy-First Apps
Every built-in app, from keyboard to browser, runs locally or in enhanced private mode. Nothing goes online unless you decide.Anti-Tracking Cloak
Virtualized sensors mask your hardware fingerprints, making you unidentifiable, even to the most aggressive trackers.Total Network Transparency
The system-level firewall lets you see, approve, and instantly block every single data flow. No hidden traffic.Pure System
A clean OS built for privacy. No ads, no profiling, no telemetry.True Privacy, Your Data Belongs Only to You
No collection, no upload, no exposure. Device fingerprinting is masked and network fully under your control.Showcase
Built for everyday consumers
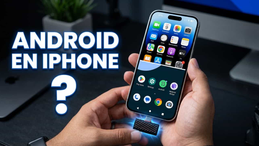
One Device, Two Systems. Independent and Secure
True isolation for your private life. Seamless, safe, and always under your control.
Vault-Level Security for Your Digital Assets
Secure your most valuable digital assets with cutting-edge, uncompromised protection technology.
Your Private Entertainment Zone. Ready Anytime
PlugOS is a mini independent yet powerful OS, giving you a clean, private, and distraction-free entertainment experience.
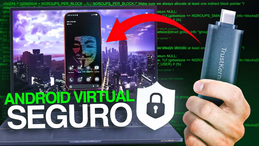
Turns Every Device into a Trusted, Secure Terminal
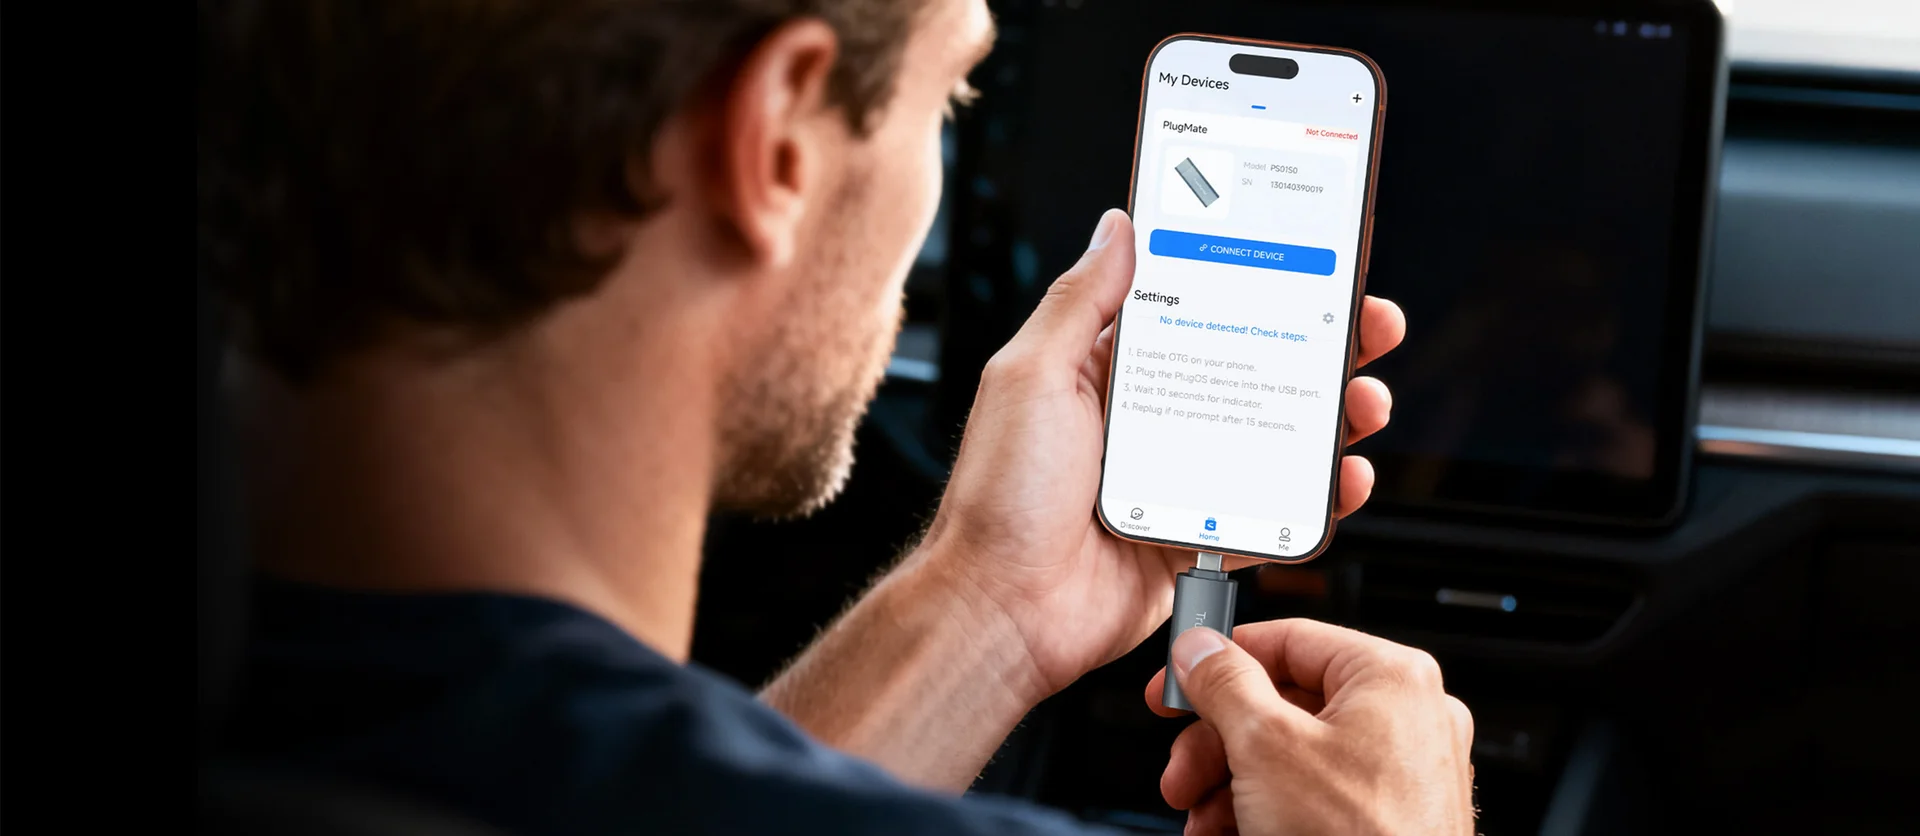
PlugOS transforms any smartphone, tablet, or PC into a fortified secure workspace, ensuring secure and private access wherever you go.Independent PlugMate Review


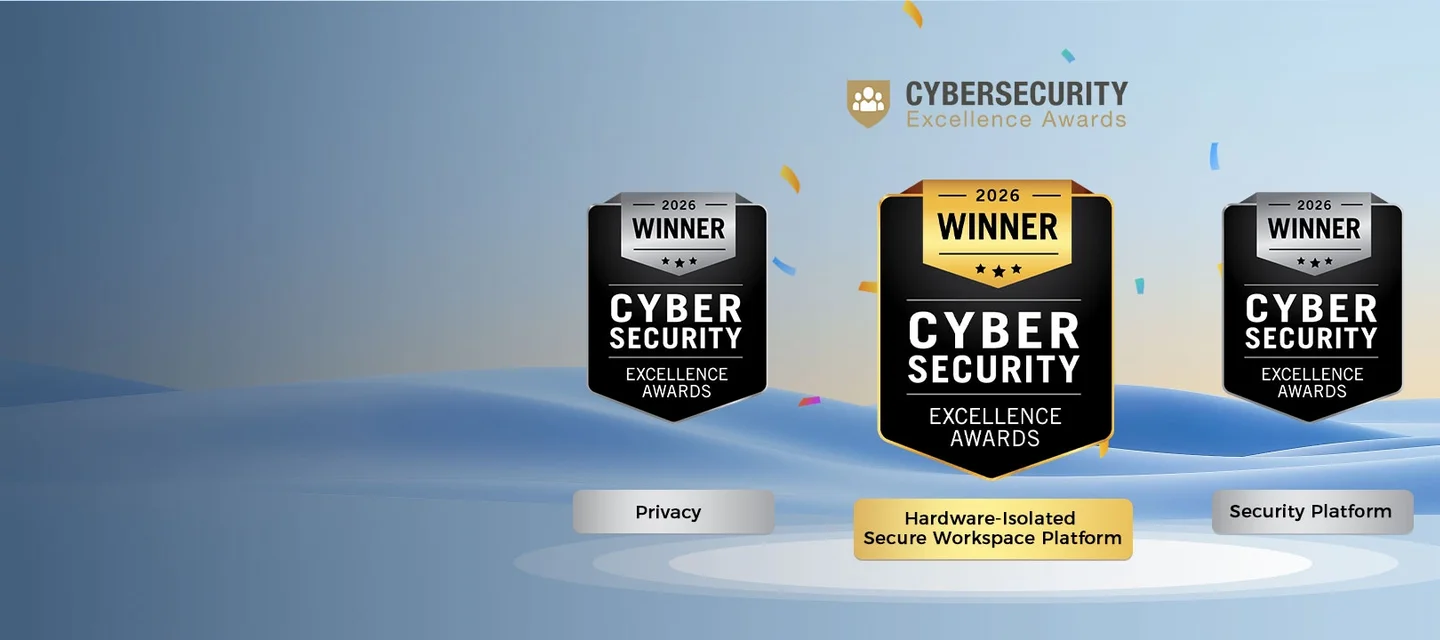
Certifications & Awards


The Security You Can Verify
Our security and privacy promise is built on a foundation of certified hardware & software, global compliance, and independent audits
Subscribe: Get latest security insights and exclusive updates early
Secure, Ad-free, Tracking-free, No Telemetry
Copyright © 2024-2026 TrustKernel
Privacy Policy | User Service Agreement